We strongly suggest connecting your existing calendar to OneDome. This will allow your applicants and leads to book time with you when you are actually available. You can also import all events from OneDome into your personal calendar.
This guide explains how to connect your existing Office 365 account in 2 directions:
- Providing your Office 365 Outlook availability to visitors
- Viewing OneDome Calendar events in Office 365 Outlook
1. Providing your availability to visitors
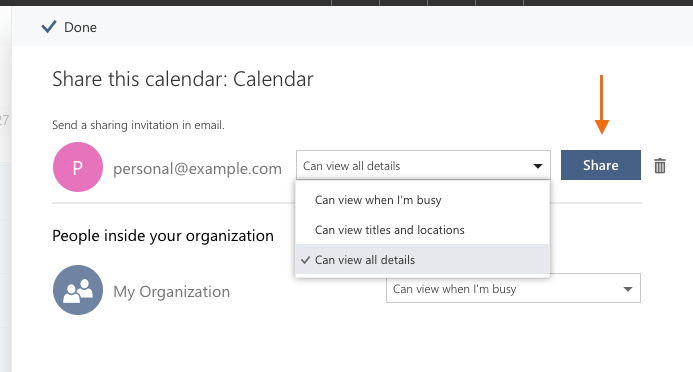
Step 1. Login to your Office 365 Calendar and click "Share":

Step 2. For this step, you will need two e-mail addresses. You will need your 'work' Outlook address and another e-mail address to receive an e-mail. Enter your personal address and click "Share". You will receive an e-mail to your personal e-mail address.
You can optionally choose how much details you want to share. OneDome doesn't require any information, therefore you can choose minimum level. However, in this case you won't see event details in your OneDome calendar. We suggest choosing "Can view titles and locations".
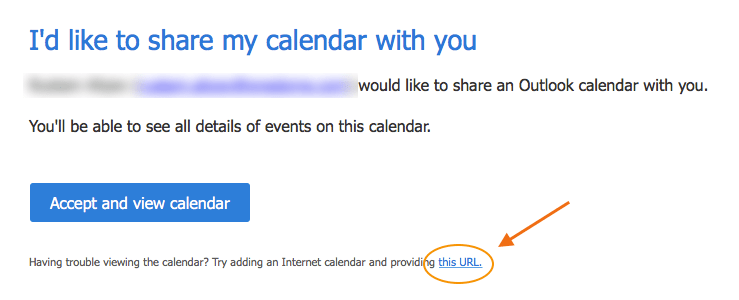
Step 3. You should now receive an e-mail with a link. Copy link from that email as shown below, by right-clicking on it and choosing "Copy Link".
Step 4. Go to your OneDome calendar, switch to Integrations tab and paste that link as shown below. Click "Save".
Tip: If there is an issue with the integration, ensure that your link starts with https://
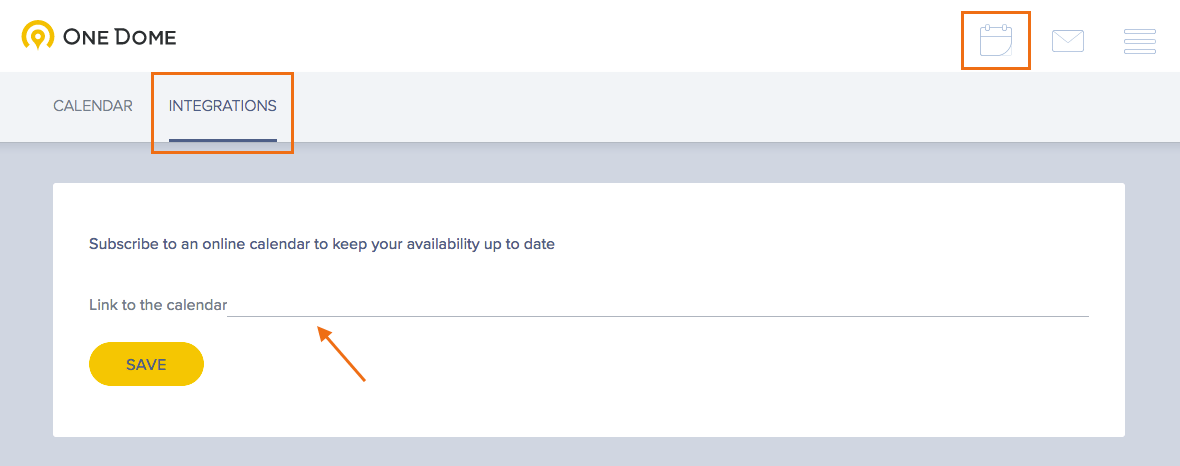
Switch back to "Calendar" tab to see events from your Office 365 Calendar.
2. Viewing OneDome Calendar events in Office 365
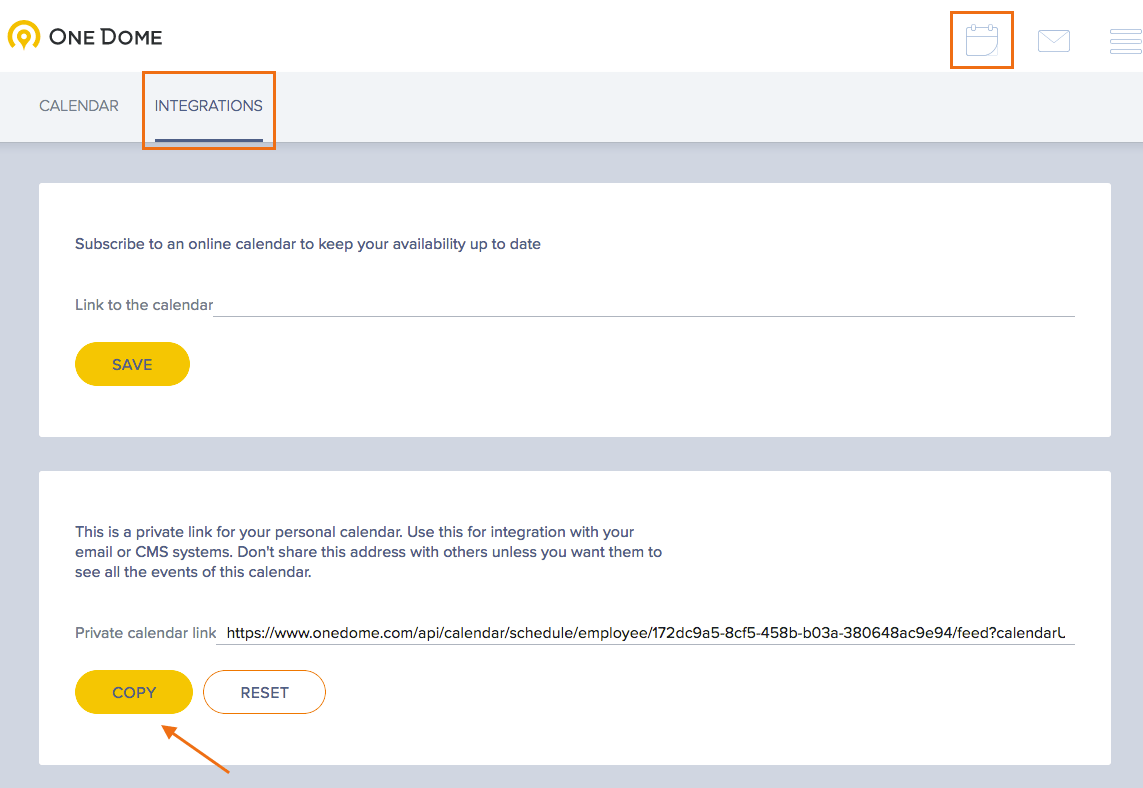
Step 1. Go to your OneDome calendar, switch to Integrations tab and copy link to your calendar as shown below:
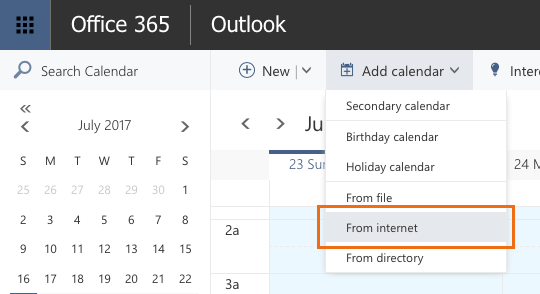
Step 2. Login to your Office 365 Calendar and click "Add calendar" > "From internet":
Step 3. Paste OneDome calendar link, input name for the calendar as "OneDome" and click "Save":

You should now see OneDome events in your Office 365 Calendar.